Here’s my situation: I have a Gradle workspace with multiple Gradle libraries. How do I easily view the relationships between different libraries? I have a monorepo workspace with both Gradle and Javascript libraries, how do I manage these libraries of different tech stacks?
We are very excited to announce our support for Gradle with our new plugin: @nx/gradle.
The Nx Gradle plugin registers Gradle projects in your Nx workspace. It allows Gradle tasks to be run through Nx. Nx effortlessly makes your CI faster.
Update: Learn how to import your existing Gradle projects into Nx in our recent blog post.
This blog will show you:
What is Nx?
Before we start, let’s answer this question: what is Nx and why should we use it?
From nx.dev: “Nx is a build system with built-in tooling and advanced CI capabilities. It helps you maintain and scale monorepos, both locally and on CI.” It sounds good, what benefits does it bring?
Nx adds the following features to your workspace:
- Cache task results: By storing task outputs in a cache, subsequent runs can skip redundant computations and reuse previously calculated results, significantly speeding up build processes. Nx intelligently manages this caching mechanism, invalidating the cache automatically when relevant inputs change.
- Distribute task execution: Nx CI efficiently distributes tasks across multiple machines for faster build times. It uses a distributed task execution algorithm to intelligently divide and assign tasks to available resources, minimizing redundant work and maximizing parallelism.
- Run only tasks affected by a PR: Nx identifies changes made since a specified base commit or branch, and then selectively runs tasks (like tests, linting, or builds) related to those changes.
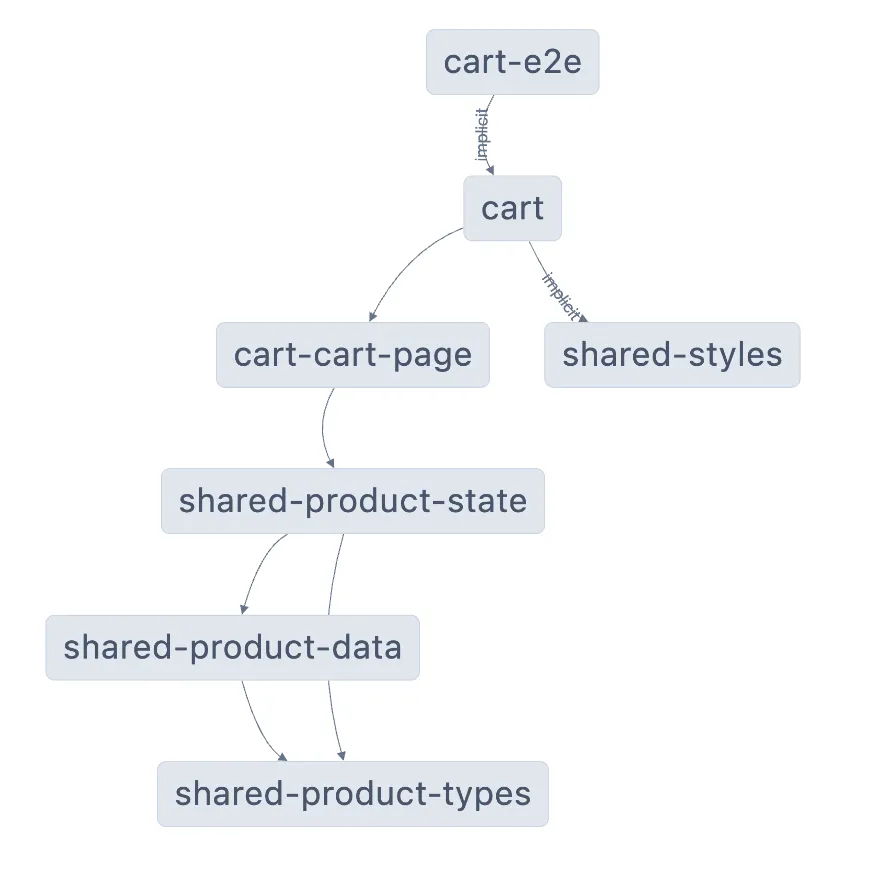
- Interactively explore your workspace: Nx allows developers to visualize and understand the dependencies and relationships within their projects.

How to add Nx to a Gradle Workspace?
Now we understand the benefits of Nx, now let’s set it up. The setup is pretty easy, just need to run one command.
In the workspace, run the below command:
❯
npx nx@latest init
In the terminal, it should output:
❯
Setting Nx up installation in `.nx`. You can run Nx commands like: `./nx --help`
❯
CREATE nx.json
❯
UPDATE .gitignore
❯
CREATE .nx/nxw.js
❯
CREATE nx.bat
❯
CREATE nx
❯
NX Recommended Plugins:
❯
Add these Nx plugins to integrate with the tools used in your workspace.
❯
✔ Which plugins would you like to add? Press <Space> to select and <Enter> to submit. · @nx/gradle
❯
added 111 packages, and audited 112 packages in 2s
❯
21 packages are looking for funding
❯
run `npm fund` for details
❯
found 0 vulnerabilities
❯
✔ Installing @nx/gradle@latest...
❯
✔ Initializing @nx/gradle...
That’s it! Now we have Nx in our Gradle project.
Example: Gradle Init
If you create your Gradle workspace using gradle init, by running npx nx@latest init, you will get:

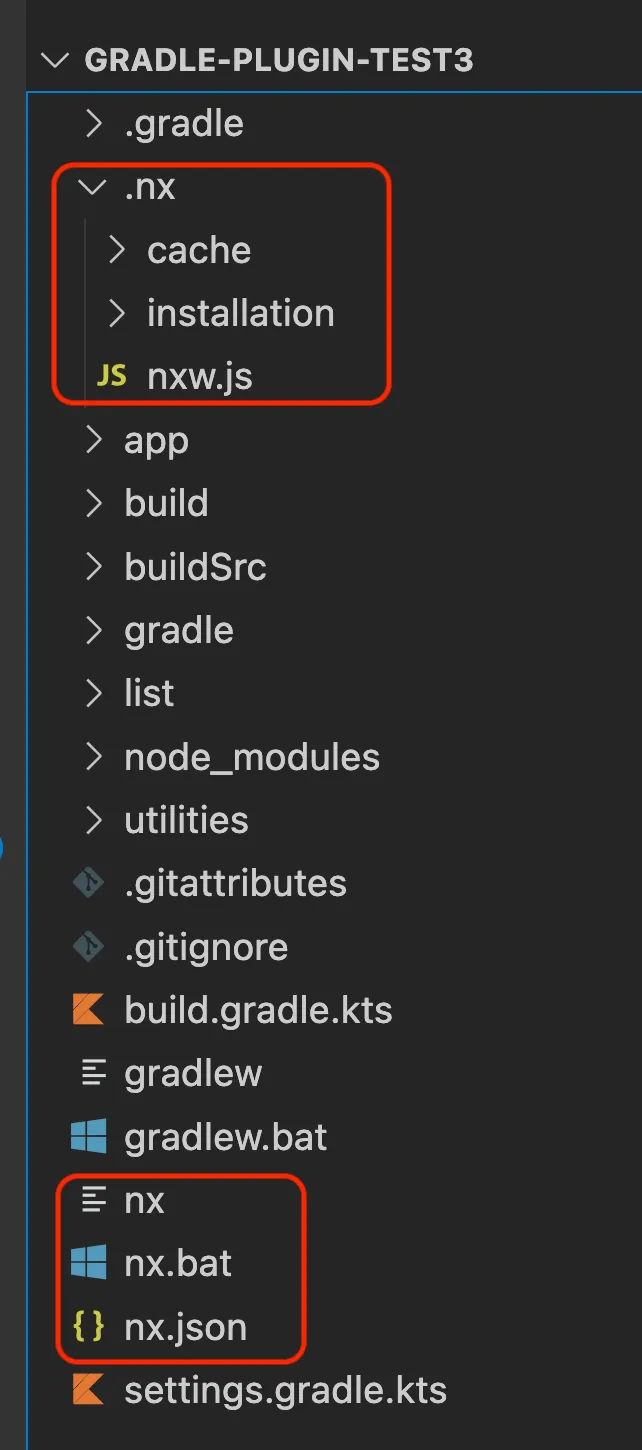
It adds a .nx folder in the workspace root and nx executable files. Now you can run commands using ./nx (or nx.bat for Windows machines).
For example, you can run Gradle tasks using Nx now:
❯
# macos/linux
❯
./nx <gradle task> <gradle project>
❯
# windows
❯
nx.bat <gradle task> <gradle project>
If you build your Gradle library using the command ./gradlew :app:build or gradlew.bat :app:build, you can run ./nx build app or nx.bat build app to build your Gradle library.
Now you can an alternative way to run Gradle tasks, how can we leverage Nx?
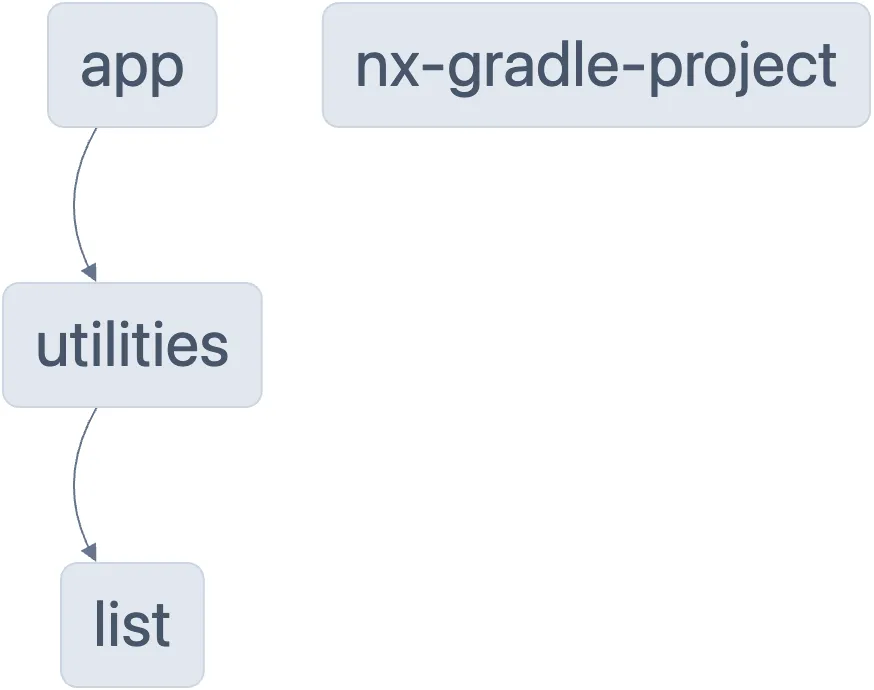
Nx Graph
To see the project graph, run the below command:
❯
# macos/linux
❯
./nx graph
❯
# windows
❯
nx.bat graph

Run Only Tasks Affected by a PR
As mentioned before, Nx enables the ability to run only the tasks affected by a specific PR by running the below command:
❯
# macos/linux
❯
./nx affected -t <task>
❯
# windows
❯
nx.bat affected -t <task>
For example, when you run nx affected -t build, Nx uses your git information to determine the files you changed in your PR. Nx determines the list of projects in the workspace that can be affected by this change and only runs the build task against changed files.
You can also visualize the affected projects highlighted using the Nx graph. Simply run:
❯
# macos/linux
❯
./nx affected:graph
❯
# windows
❯
nx.bat affected:graph
Nx Console
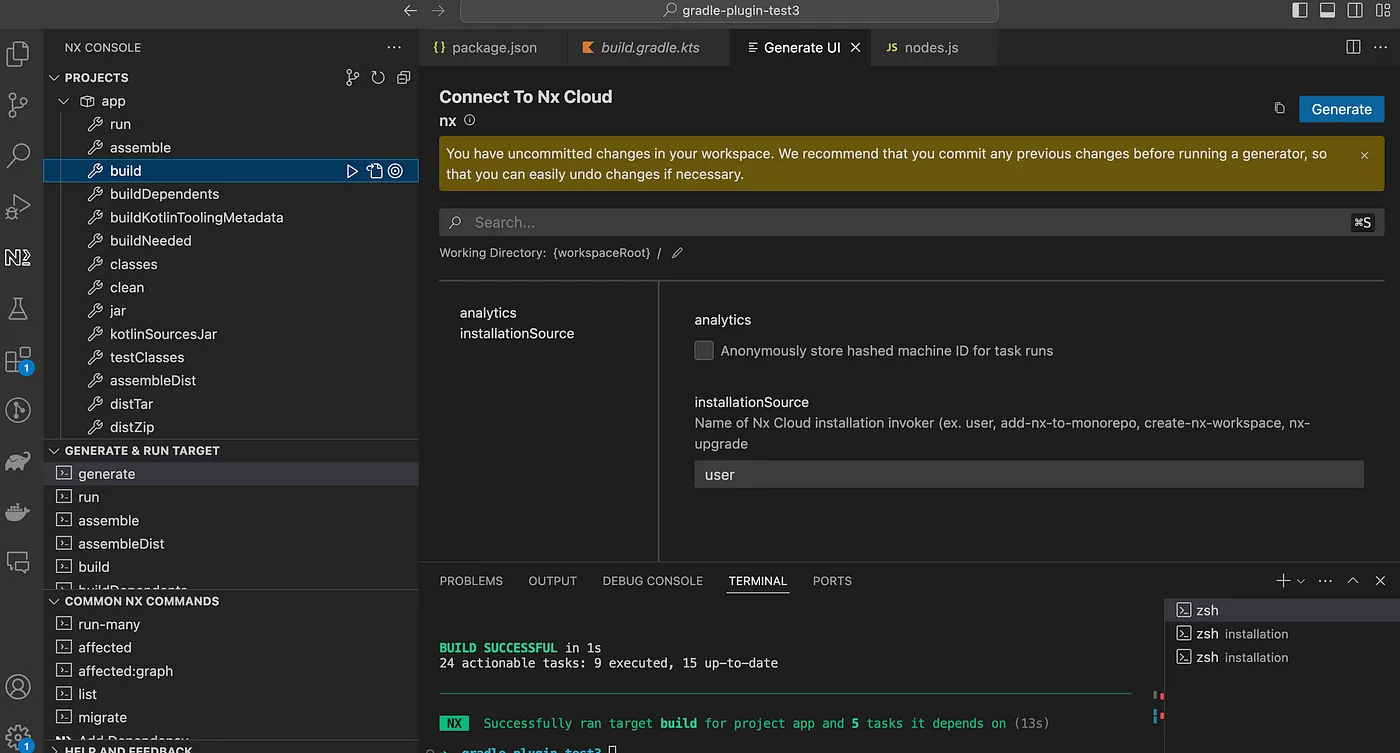
Furthermore, instead of running the command in terminal, you can use the editor tool Nx Console. Anything you can do with Nx, you can do with Nx Console.

To download:
How to add @nx/gradle to an existing Nx workspace?
If you have an existing Nx workspace, to add @nx/gradle, just run:
❯
npx nx add @nx/gradle
That is it, it will add @nx/gradle plugin to your Nx workspace.
You can view inferred tasks for Gradle project in your workspace, open the project details view in Nx Console or run nx show project my-project --web in the command line.
For all the interred tasks, you can run using Nx instead of Gradle:
❯
nx <gradle task> <gradle project> [options]
For example, if you run ./gradlew :app:build or gradlew.bat :app:build using Gradle command, to run using Nx: nx build app.
How @nx/gradle Infers Tasks
The @nx/gradle plugin will create an Nx project for each Gradle configuration file present. Any of the following files will be recognized as a Gradle configuration file:
gradle.buildgradle.build.kts
@nx/gradle Configuration
The @nx/gradle is configured in the plugins array in nx.json:
1{
2  "plugins": [
3    {
4      "plugin": "@nx/gradle",
5      "options": {
6        "testTargetName": "test",
7        "classesTargetName": "classes",
8        "buildTargetName": "build"
9      }
10    }
11  ]
12}
13
Once a Gradle configuration file has been identified, the targets are created with the name you specify under testTargetName, classesTargetName, or buildTargetName in the nx.json plugins array. The default names for the inferred targets are test, classes, and build.
Summary
Here is how to set up Nx with the Gradle workspace. Hopefully, this gives you a good insight into how to get started with Gradle with Nx. The plugin is currently experimental, you can submit GitHub issues: https://github.com/nrwl/nx/issues.
